
Before we get started, we highly encourage that you follow along with our dev setup guide to get a working development environment set up. From here, there’s just a few commands that we’ll need to execute in sequence to get things rolling. This should be review:
$ git checkout -b my-branch-name    # create a new branch and check it out
$ jekyll serve                      # set up our dev server
Now to add yourself to our team page! When you add yourself to our team, you are not only adding your name to the team page, but you are also creating your own webpage on the website, and associating yourself to any future blog posts that you might write!
All our team documents are stored within the _team folder from the top level of the website. To create your own, just use the first initial of your name followed by your last name. If you’re familiar with Jekyll, you can use a variety of file types here so long as you include our headmatter, but for our demo, we will use .md. So, for our example member “Joe Bruin”, we would create the file _team/jbruin.md!
The contents of the file are important. To start, we add what is called head matter, or just the important information about our member. It is encapsulated in three dashes --- and should have the following fields at a minimum:
---
name: "Joe Bruin"
group: "member"
---
If we refresh the team page in our web browser, now, we should see that our name is now in the group we provided, and clicking on our image navigates to a barebones team page. We have four groups for team members: member, alum, alum+, and board. If you’re going through this process for the first time, then you should probably use member.
The full list of fields can be found in our team README.
What comes after the head matter? Why, the content! After those last three dashes, you are free to write whatever you’d like in Markdown formatting to have it generate your user page, which you can reach by either clicking on your profile image on the team page, or by clicking on your name on a blog post you authored.
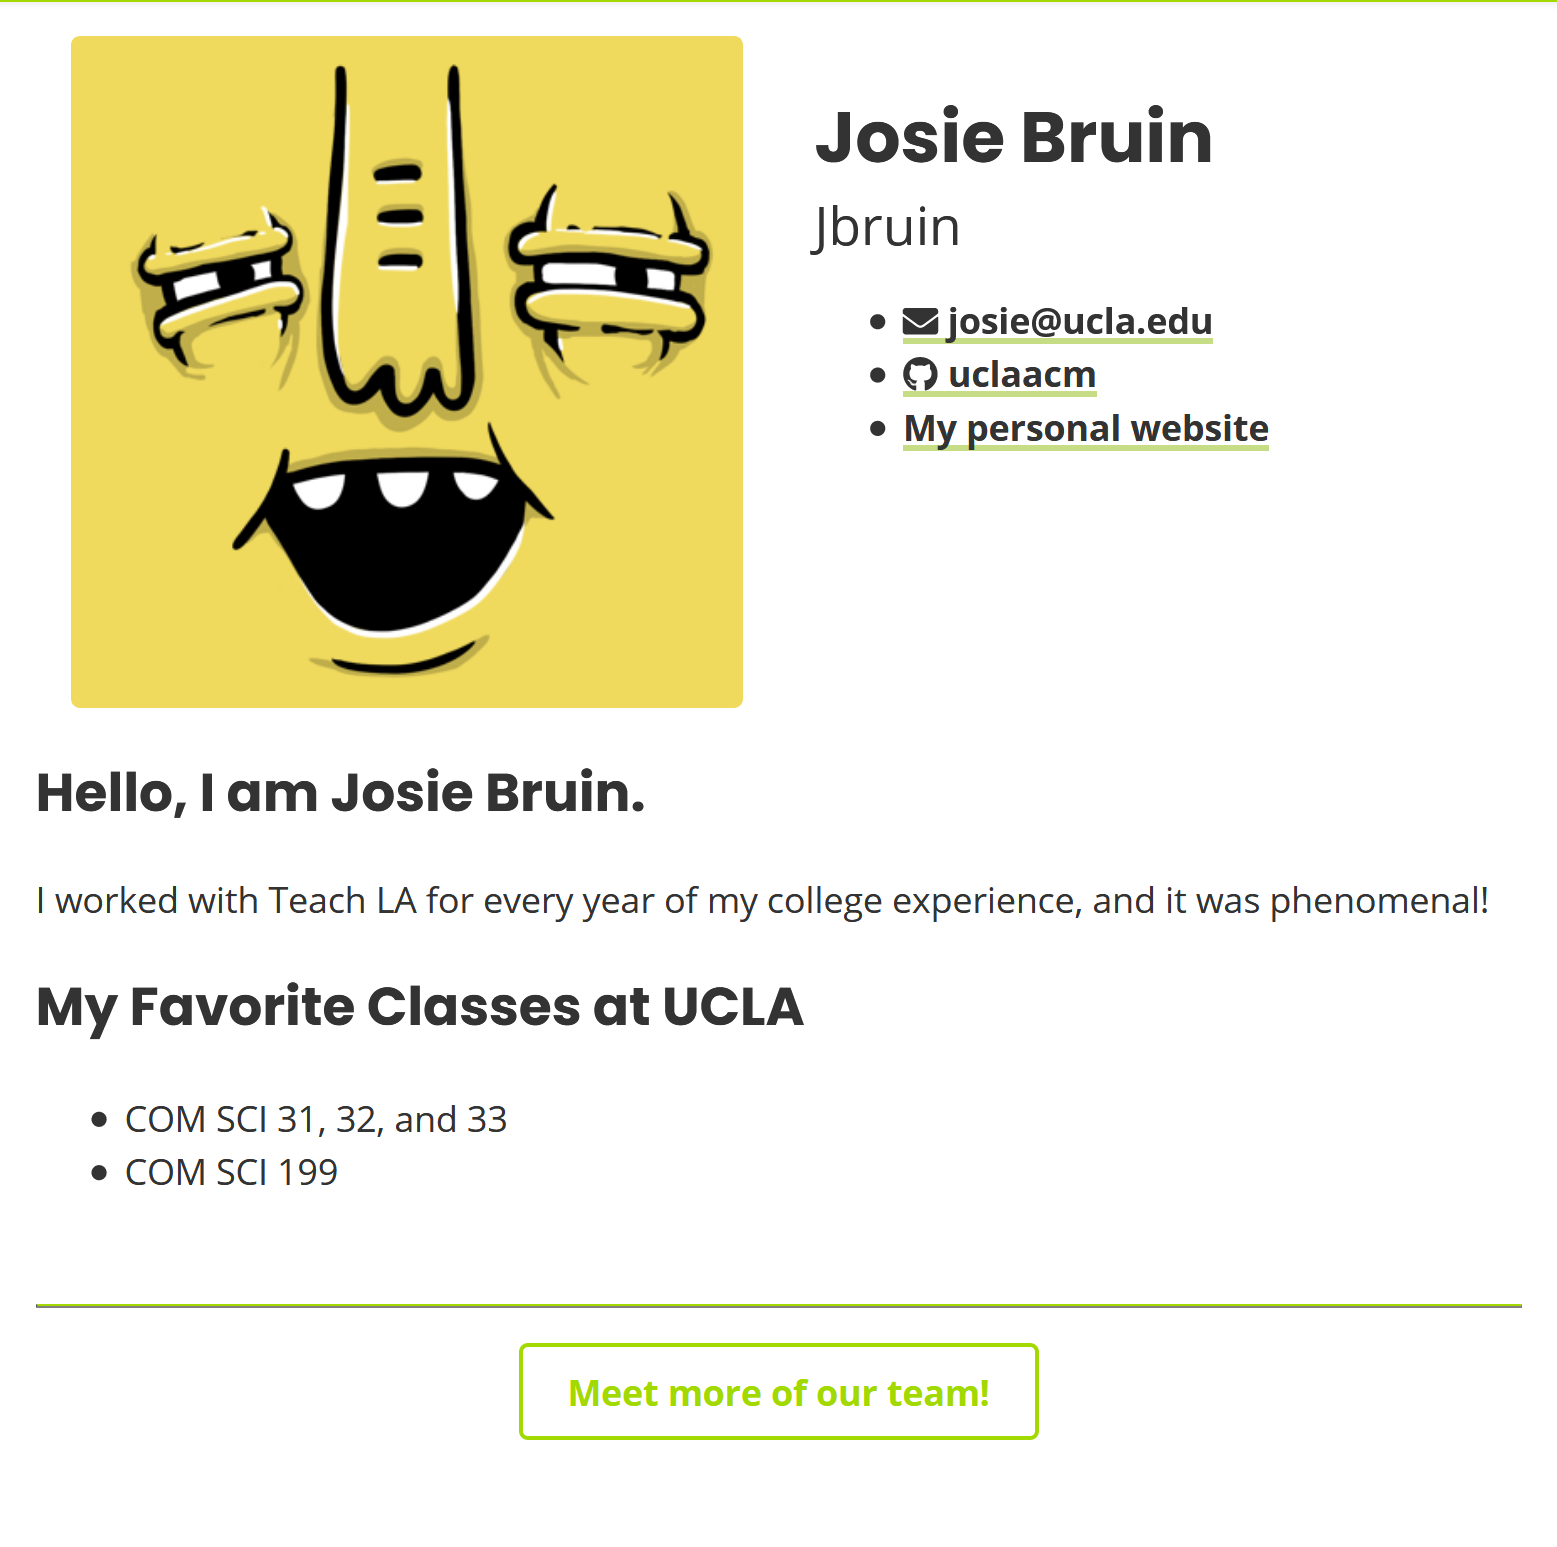
Here’s an example team page for Josie Bruin:
---
name: Josie  Bruin
pronouns: "they/them"
group: alum+
graduating_year: 1923
img: josiebruin.png

github: uclaacm
email: josie@ucla.edu

links:
  - name: My personal website
    href: https://ucla.edu
---

## Hello, I am Josie Bruin.

I worked with Teach LA for every year of my college experience, and it was phenomenal!

## My Favorite Classes at UCLA
* COM SCI 31, 32, and 33
* COM SCI 199
This renders into a clean page:
Now, you are ready to add your files to the stage, commit, and push as discussed in our setup guide.
If the push step complains of not being able to find a remote, then you should use the long form of the push command:
$ git push origin my-branch-name
All this does is create the branch if it doesn’t already.
Once you’ve pushed, your changes will be reflected on GitHub. We’re now ready to create a pull request!
Now that you’ve pushed some code to the repository, you can submit what’s called a pull request, or a request to merge your changes on one branch into another. GitHub makes this very easy, so let’s navigate to our repository’s GitHub page. If we’re fast enough, we’ll see a notification stating that our branch was recently pushed, along with a suggestion to make a pull request from it.
Go ahead and click on “create a pull request” to proceed, and you’ll be presented a form to write a title for your pull request, along with a description of the finer details. If we’re adding this page, then we might title it “Implement Internal Docs Collection”. For the description, we might describe the files added and any modifications to existing code.
Once your pull request is submitted, you’ll notice that you can’t immediately merge it (i.e., have your changes added to the source code). This is because we enforce a mandatory code review from a maintainer prior to merging. Code review is an essential part of development. What it means is that someone who owns or manages the repository looks over your changes to make sure that nothing breaks, everything works as expected, and that - in some cases - your coding style is up to the project’s standards.
To request review from a project maintainer, simply click on the “review” sidebar on your newly-created pull request.
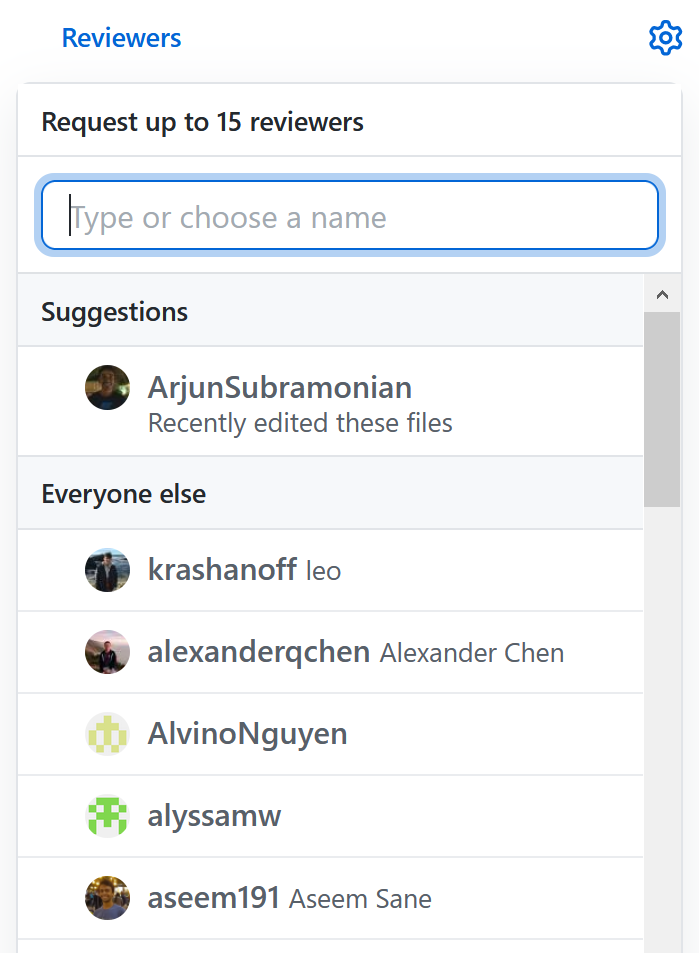
From here, we can request the review of project maintainers or fellow peers. You’ll get a notification on GitHub after a the reviewer you requested publishes their response.
A code review will appear on your pull request on GitHub as a comment, with specific comments on parts of your code. A review can either approve (ready to merge), deny (needs some changes before it is ready), or remain neutral (often an interim review) on your changes. This gives way to collaborative, iterative development.
Once the review process is complete and your pull request is approved, you will have the option to “merge pull request” at the bottom of the conversation thread! Once you do this, your changes will be reflected on the master branch, and you will be added to the team page on our live website! Congratulations on your first PR!